مقدمه
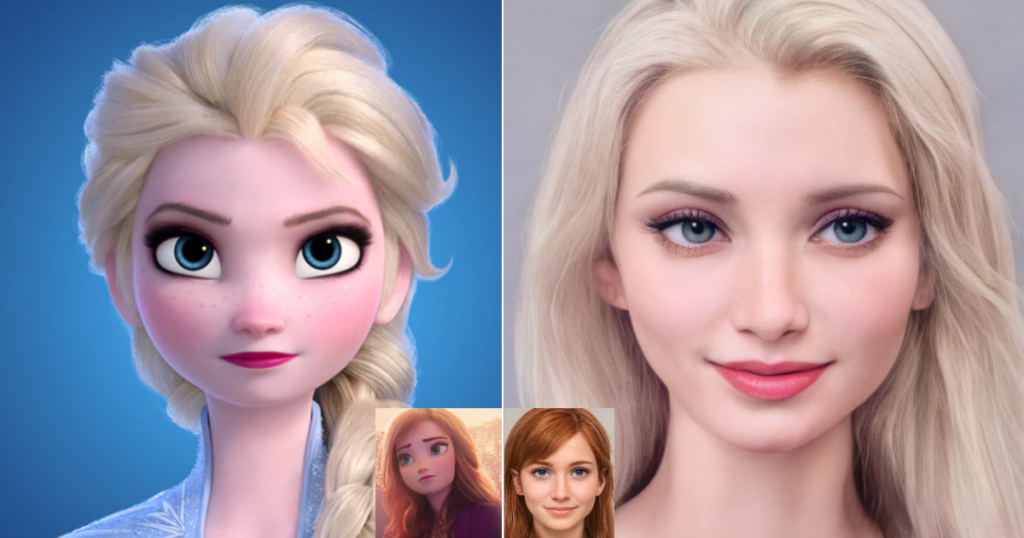
تبدیل عکس به شخصیت های دیزنی یک روش جذاب و خلاقانه برای تغییر و بهبود تصاویر است. با استفاده از این روش، شما می توانید عکس های خود را به شخصیت های دلخواه از فیلم ها و کارتون های محبوب دیزنی تبدیل کنید.
برای این کار، می توانید از شبکه های عصبی پیش آموزش دیده استفاده کنید که با تحلیل ویژگی های صورت و اجزای بدن، تصویر را به شخصیت دلخواه تبدیل می کنند. یکی از شبکه های عصبی معروف برای تبدیل تصاویر به شخصیت های دیزنی، شبکه DeepDream است.
کد پایتون تبدیل عکس به شخصیت های دیزنی
برای استفاده از شبکه DeepDream در پایتون، شما باید از کتابخانه های موجود مانند TensorFlow و Keras استفاده کنید. در اینجا مراحل اصلی برای تبدیل عکس به شخصیت های دیزنی با استفاده از شبکه DeepDream در پایتون ذکر شده است:
- بارگیری شبکه عصبی DeepDream با استفاده از کتابخانه TensorFlow.
- بارگیری تصویر مورد نظر و تغییر اندازه آن به اندازه ورودی شبکه عصبی.
- تغییر مقیاس پیکسل های تصویر به مقدار بین 0 تا 1.
- ایجاد بعد جدید برای تصویر.
- اعمال شبکه عصبی DeepDream بر روی تصویر و تبدیل آن به شخصیت دلخواه.
- تغییر اندازه تصویر خروجی به اندازه تصویر ورودی.
- نمایش تصویر خروجی.
با انجام این مراحل، شما می توانید تصاویر خود را به شخصیت های دیزنی محبوب تبدیل کنید و از آنها لذت ببرید.
در ادامه، یک کد پایتون ساده برای تبدیل عکس به شخصیت دیزنی با استفاده از کتابخانه های Keras و TensorFlow آمده است:
import tensorflow as tf
import numpy as np
import PIL.Image
# Load the DeepDream model
model = tf.keras.applications.InceptionV3(include_top=False, weights=’imagenet’)
# Create a function to process the image
def process_image(image):
# Convert the image to an array of floating-point values between 0 and 1
image = tf.keras.preprocessing.image.img_to_array(image)
image = np.expand_dims(image, axis=0)
image = tf.keras.applications.inception_v3.preprocess_input(image)
return image
# Create a function to deprocess the image
def deprocess_image(image):
image = image.reshape((image.shape[1], image.shape[2], 3))
# Undo the preprocessing step
image /= 2.0
image += 0.5
image *= 255.0
# Clip the pixel values to the range [0, 255]
image = np.clip(image, 0, 255).astype(‘uint8’)
return image
# Create a function to apply DeepDream to the image
def deep_dream(image, model, steps=100, step_size=0.01, octave_scale=1.3):
# Define the names of the layers to use for the DeepDream process
names = [‘mixed3’, ‘mixed5’, ‘mixed7’]
# Convert the image to a TensorFlow variable
image = tf.keras.preprocessing.image.img_to_array(image)
image = tf.Variable(process_image(image))
# Create the multi-scale images for the DeepDream process
octaves = []
for _ in range(3):
high_freq = tf.image.resize(image, (int(image.shape[1]*octave_scale), int(image.shape[2]*octave_scale)))
low_freq = tf.image.resize(tf.image.resize(image, (int(image.shape[1]/octave_scale), int(image.shape[2]/octave_scale))), image.shape[1:3])
image = high_freq – low_freq
octaves.append(image)
# Initialize the DeepDream process
for octave in range(len(octaves)-1, -1, -1):
# Upscale the DeepDream image
upscaled = tf.image.resize(octaves[octave], image.shape[1:3])
# Create a TensorFlow variable to store the image
image = tf.Variable(upscaled)
# Iterate over the layers and apply DeepDream to each one
for name in names:
layer = model.get_layer(name).output
# Calculate the loss and gradients for the layer
loss = tf.math.reduce_mean(layer)
gradients = tf.gradients(loss, image)[0]
# Normalize the gradients
gradients /= tf.math.reduce_std(gradients) + 1e-8
# Apply the gradients to the image
image.assign_add(gradients * step_size)
# Create the final DeepDream image
final_image = deprocess_image(image.numpy())
return final_image
# Load the image
image_path = ‘your_image_path.jpg’
image = PIL.Image.open(image_path)
# Apply DeepDream to the image
dream_image = deep_dream(image, model)
# Save the output image
output_path = ‘disney_character.jpg’
PIL.Image.fromarray(dream_image).save(output_path)






برای نوشتن دیدگاه باید وارد بشوید.